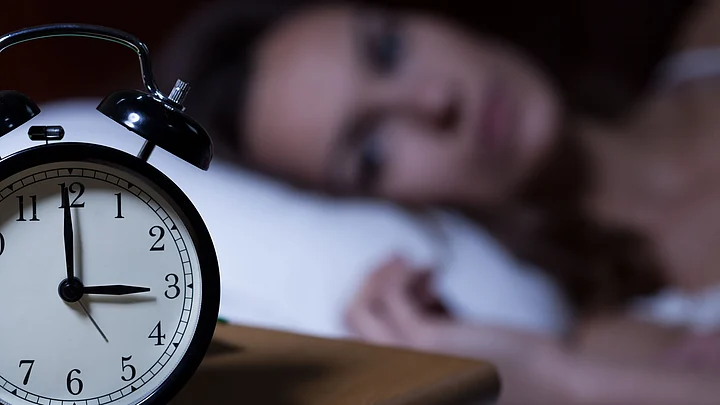
The word 'insomnia' may sound intimidating or like a dangerous disease but it is nothing as serious as it sounds. Insomnia is a sleep disorder when a person finds it difficult to fall asleep. Research proves that one-third of Indians suffer from occasional spells of insomnia and it can be quite frustrating since it doesn't allow us to sleep.
Lack of proper and relaxed sleep can lead to a lack of focus, irritability, loss of appetite, headache, anxiety, and stress. It might even cause problems in your day-to-day life. Thus, before going for medicines for proper sleep, try these easy and effective yoga poses at home.
1. Standing Forward Bend Pose
You can perform this pose by standing with your feet about six inches apart and folding the chest to the ground. Try reaching toward the flat surface or bend the arms, and clutch the opposite elbow with the opposite hand.
This pose not only helps deal with insomnia but reduces the frequency of headaches as well. This yoga pose also helps with anxiety. You must make sure that while performing the pose, you sway a little from side to side and inhale. Bend your knees as much as required to prevent strain. Gradually, you will feel the tension in the hips and legs releasing.
2. Legs Up the Wall Pose
This is one of the most simple yoga poses that is performed against a wall. Viparita Karani offers extreme relaxation and relief from anxiety. It is suggested to hold the pose for at least five minutes for effective results.
You can keep your eyes shut and use a calming eye pillow if required. When your legs are flipped upwards, it helps the blood rush back down to the heart and has a calming effect.
3. Bridge Pose
The bridge pose helps regulate blood pressure. It calms the brain and alleviates stress. It is beneficial in managing mild depression and is good for abdominal organs, lungs, menstrual pain, fatigue, headache, and anxiety as well.
Lie on your back, place your hands at your sides, bend your knees, and your feet should be flat on the floor close to your butt.
Press into your feet while you lift your hips and torso to create a straight line from your knees to your shoulders.
Hold the pose for up to 30 seconds, then lower your hips to the floor.
4. Corpse Pose
This is a traditional resting pose and helps relax the entire body without putting pressure on any specific muscle groups. It helps calm the central nervous system, aiding the digestive and immune systems. It might also help manage blood pressure and frequent headaches.
Lie down on your back and open up your arms and legs. Then turn your palms upward.
After you get into this position, relax your whole body and face. Don't try to hold your position; try to feel heavy instead.
Try breathing naturally.
Try staying in this position for as long as you are comfortable.
When you want to come out of the pose, deepen your breath, then start to wiggle your fingers and toes to reawaken your body.
Make sure to do a full-body stretch from hands to feet.
Close your eyes and bring your knees to your chest and roll over to one side. Rest in the foetal position for a few breaths.
Return to a sitting position with the help of your hands.
5. Locust Pose
The locust pose improves the posture and is effective in situations of prolonged sitting and computer work. It may help relieve lower back pain and neck pain as well. It can counteract slouching and kyphosis (abnormal curvature of the spine) while strengthening your back muscles, especially the muscles supporting your spine.
Lay on your belly with your feet together and your hands reaching back, your palms should be placed down.
Try extending your big toes straight back and pressing down with all ten toenails to activate your quadriceps.
Rotate your inner thighs to broaden your lower back.
Place your hands on the mat, raise your head, chest, and your legs, leading with your inner thighs.
Roll your shoulders back and up away from the floor. Keep the back of your neck long and try lifting your sternum instead of lifting your chin.
Slowly release if you want to come out of the pose.
(At The Quint, we question everything. Play an active role in shaping our journalism by becoming a member today.)
